Your 30-Day Plan to Build a Personal Brand That Sticks
Building a personal brand doesn’t have to be overwhelming. Follow this 30-day plan to define your message, create a visual identity, and show up confidently online—with help from LOGO.com’s free tools.
If you’re on social media, you’ve probably heard about personal branding, and you may be wondering if building a personal brand is worth investing in.
And for some business owners, it can be. Because people don’t just buy products or services anymore. They want to know who they’re buying from.
A personal brand can build trust, make your business more referable, and help potential clients decide faster if you’re the right fit. It turns your reputation into something you can use in your content, your offers, and your everyday conversations.
Building a personal brand doesn’t happen overnight.
But it can take shape in 30 focused days.
Should I Build a Personal Brand?
That depends on what you want it to do for you.
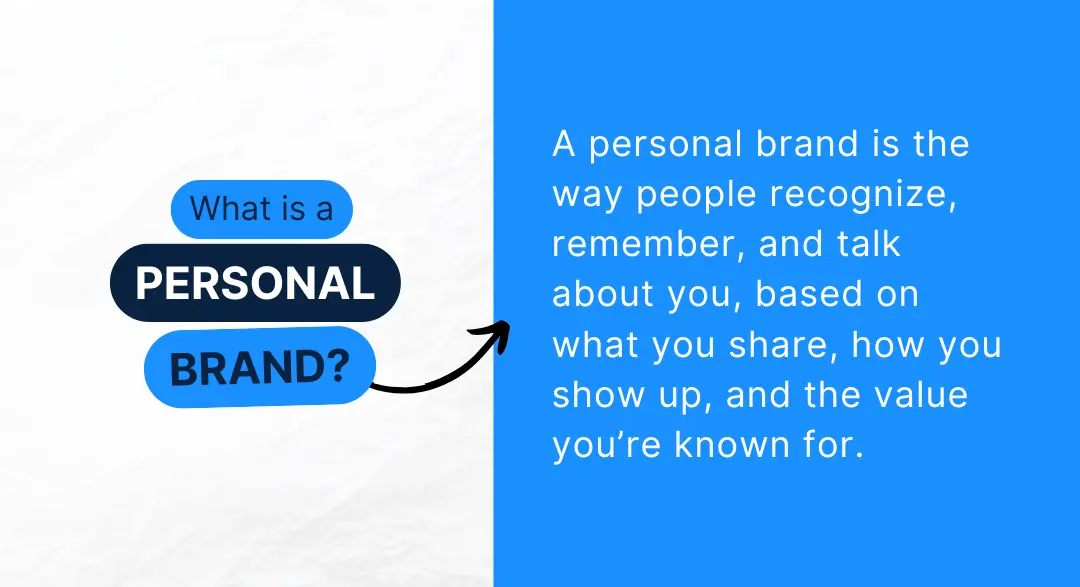
If you run a business, offer a service, or share your work online, then you already have a personal brand.
It’s the impression people form when they come across your name, your content, or your business. The key is making sure that the impression is intentional and aligned with what you’re trying to grow.
Because when your personal brand reflects your expertise and values clearly, it becomes easier for the right people to find you, trust you, and refer you.
And unlike what you see on social media, building a personal brand isn’t only for influencers, authors, or content creators.
It’s for small business owners, freelancers, consultants, service providers, and anyone who wants to build trust, be known for something valuable, and make it easier for people to say “yes” to working with them.
So, if you’ve ever thought...
- “I’m not sure what people see when they come across me online.”
- “I want to get more consistent with how I show up.”
- “I need a better way to explain what I do.”
- “I want my business to feel more professional—even if it’s just me running it.”
...then building a personal brand is worth your time.
What Are the Benefits of Building a Personal Brand?
A personal brand helps you stop blending with those in the same industry or niche and start being the obvious choice with your target audience.
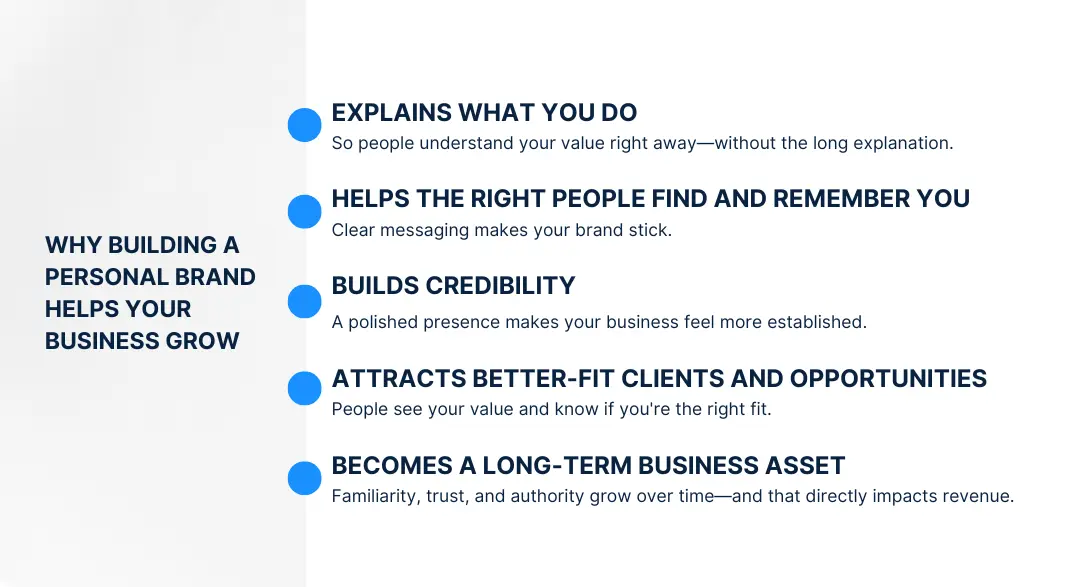
Beyond that, taking time to build your personal brand can create momentum in your business by:
- Explaining what you do quickly and clearly.
- Helping the right people find—and remember—you.
- Making your business look more credible, even if it’s just you behind the scenes.
- Setting you up for better clients, collaborations, and opportunities because people can see your value.
Most importantly, over time, your personal brand becomes a business asset because it builds familiarity, authority, and trust—three things that directly impact your business’s growth.
Ready to Take the Leap?
In the next 30 days, you’ll build a brand that feels like you, structured, intentional, and easy to use.
You’ll walk away with:
- A clear message about what you do and who it’s for.
- A visual identity that’s consistent (and not all over the place).
- A simple online presence that works, even when you’re not online.
- A way to show up and create content without second-guessing every post
If you’ve been winging it or waiting until things feel “ready,” this is your push to make it real.
Week 1: Get Clear on What You Stand For
Personal branding starts with clarity. Before you try to grow an audience, you need to know what you’re offering and why it matters.
Which is why your first week of your personal branding boot camp is all about building your foundation. Before you start creating anything visual, you need clarity on who you’re trying to reach, what you want to be known for, and how you want to show up.
Day 1: Define What Personal Branding Means to You
Don’t start with what you should do. Start with what you want.
Take five minutes to write down what you hope a personal brand can do for your business or career. Do you want more visibility? Client trust? Speaking gigs? Confidence in your messaging?
Getting clear on your goals will keep you focused and help you make better decisions as you build.
Day 2: List What You Want to Be Known For
When someone mentions your name or business, what do you want them to associate with it?
Pick 3–5 themes, skills, or ideas that reflect what you want to be known for. These could be areas of expertise, core beliefs, or even behind-the-scenes things you care about that add depth to your brand.
Day 3: Identify Your Target Audience
Write out who you’re talking to (your target audience).
Try to be as specific as possible by determining characteristics like:
- What they do for a living.
- Their mindset.
- Their needs and goals.
The more clearly you see them, the more clearly you can connect with them through your content.
Day 4: Google Yourself
Search your name and business. What shows up? Is it helpful? Confusing? Outdated?
This is how other people might first experience your brand. Make note of anything that feels off, missing, or out of alignment with what you want to be known for. This quick audit gives you a baseline for where you’re starting.
Day 5: Choose a Niche That Aligns With Your Skills and Energy
You don’t need to force yourself into a narrow box, but you do need to focus.
Look at your strengths, your pace, and the kind of work you enjoy. Choose a niche that gives you room to grow, while still being clear enough that people can understand what you do without thinking too hard.
Day 6: Write a Personal Brand Statement
One to two sentences that say: Here’s what I do, who it’s for, and what makes it different.
Write it like you’d say it out loud to a potential client or partner. It doesn’t need to be perfect, but it does need to feel true to you and clear to someone else.
Day 7: Choose Your Tone and Voice
Pick a few words that describe how you want to sound when you show up online.
Examples of words you could use are confident, thoughtful, direct, playful, warm, expert, and bold.
These tone words will guide how you write, how you design, and how you present your business across every channel.
Week 2: Create the Visual Foundation
Your visuals are how people recognize you. You don’t need to have an overly-designed look, but you need to have consistent branding.
Day 8: Pick Your Brand Colors
Choose 2–3 core colors that reflect the tone and energy of your brand.
Think about the feeling you want to create when someone sees your content.
Color psychology can help guide you—blues tend to feel trustworthy, reds feel bold, greens feel natural, but don’t overthink it.
Day 9: Choose Your Brand Fonts
Fonts communicate personality.
Round = playful, all-caps = bold, light = calm.
Keep it readable and simple.
Day 10: Create Your Logo with LOGO.com
Your logo should be simple, clear, and easy to use.
Use LOGO.com’s free logo maker to experiment with layouts, fonts, and colors in real time. You’ll see how different styles look on websites, social media, and marketing material, so you can see what feels right.
Day 11: Set up your Brand Kit
Once you’ve picked your colors, fonts, and logo, save them in a brand kit.
This becomes your reference point whenever you create content, build graphics, or outsource design work. You’ll stay visually consistent without having to reinvent the wheel every time.
Day 12: Choose a Few Brand Visuals
Pick a small set of visuals that match your brand tone.
This could include:
- A few professional headshots.
- Product or service photos.
- Lifestyle images that reflect your values or aesthetic.
These images help bring your brand to life and give you content to use across platforms, even before you start posting regularly.
Day 13: Create a Simple Mood Board
Gather everything you’ve chosen so far—colors, fonts, logos, visuals—into one board or folder. This makes it easier to see how your brand looks as a whole and helps you stay consistent when designing future marketing materials.
Day 14: Save Everything in One Folder
Save all your key brand assets—logos, brand colors, font info, bios, profile photos, and image files—in one folder or cloud drive.
This small step saves time every time you create something new or need to send assets to someone else.
Week 3: Build a Presence People Can Find
Now that you’ve defined your voice and look, let’s bring it to life online.
Day 15: Claim Your Handles
Secure your name or a variation on social platforms, even if you’re not ready to use them all yet.
Day 16: Write a Clear Bio
Use your personal brand statement from Week 1 as a starting point. Your bio should explain what you do and who you help in plain language.
Think of it as a handshake: short, clear, and confident.
Day 17: Create Profile Graphics with LOGO.com Templates
Use branded templates from LOGO.com to create graphics that include your logo, brand colors, and consistent fonts.
Day 18: Register a Domain Name
Own a domain name that’s simple, easy to spell, and reflects your brand. LOGO.com offers bundled domains so you can purchase and connect them easily, or you can register through any provider you trust.
Day 19: Set Up a Website or Link In Bio
A one-page site with your photo, a short about section, your logo, and one clear call-to-action is enough to look polished and professional. If you’re not ready for a full site, set up a link-in-bio tool to point people to your content or offer.
Day 20: Use Your Branding Across Platforms
Take a quick pass through your online profiles. Update each one with your new logo, brand colors, and tone. Add your bio, profile image, and any relevant links.
Day 21: Ask a Friend to Review It All
Sometimes it’s hard to see your own brand clearly. Ask someone you trust to look at your profiles and website.
Have them answer two questions: “Is it clear what I do?” and “Does this feel like me?” Their perspective can help you catch anything confusing or off-brand before you go live.
Week 4: Start Showing Up
This is the week your brand becomes active. You’ve built the foundation, now it’s time to use it.
Day 22: Choose a Content Format That Works For You
Pick one way to share your ideas that feels sustainable. That could be writing captions, recording Reels, sharing carousels, or making tutorials.
You don’t have to be great at everything, just committed to showing up in a way that feels manageable.
Day 23: Brainstorm 5 Content Ideas
Return to the themes you chose on Day 2. Think about what your audience might want to learn, understand, or hear from someone like you.
Day 24: Create and Post Your First Piece of Content
Don’t overthink it. Progress beats polish. Focus on value, not perfection.
Day 25: Repurpose That Content
Take what you already posted and repackage it. Turn a blog post into a caption. Use a quote from your video as a graphic. Repurposing helps keep the momentum going and keeps you from burning out.
Day 26: Schedule 2-3 Posts for This Week
Batch a few pieces of content and schedule them using built-in tools or free platforms. This removes the day-to-day pressure of posting and helps you build consistency, even when you’re busy.
Day 27: Connect With 3 Creators or Peers
Take a few minutes to comment on a peer’s post, reply to a DM, or share someone else’s work. Relationships amplify your reach.
Day 28: Set Up a Lead Magnet or Email Capture
Offer a simple freebie—guide, checklist, template—that fits your brand, and start building your email list.
Week 5: Review and Grow On Purpose
You’ve put the pieces together, now let’s make sure they’re working.
Day 29: Review What’s Working
What content felt natural? What got responses? Where did people click or comment? Keep what works, and drop what doesn’t.
Day 30: Write a Simple Plan for What’s Next
Set 1–2 habits you can stick to each week.
That might be posting twice, updating your bio monthly, or sending a short email to your list. Consistency is what separates forgotten brands from trusted ones.
Build a Brand That Feels Like You
Thirty days might sound like a lot, but when you break it down into small, focused steps, it becomes manageable and meaningful. Each task builds on the last, helping you create a brand that feels aligned, intentional, and ready to grow with you.
You’ve got the plan. You’ve got the tools. And with LOGO.com, you’ve got everything you need to make your brand look and feel like you, from the ground up.
Recent posts
Oct 19, 2026 by: Sean Baker
Oct 14, 2026 by: Vanessa Lam
Oct 12, 2026 by: Sean Baker
Oct 5, 2026 by: Sean Baker