How to Create a Logo for Free to Start Your Business
In this article, we will go through how to create a free professional logo to launch your business from start to success and download the files you need.

With LOGO.com, you can create a free professional logo to launch your business from start to success.
By the end of this article, you will have:
- Created a logo for your business (you could create a new one or edit your existing one)
- The complete set of logo files
- Your brand guidelines
- Your brand information added to your dashboard for a more customised experience
Section 1. Getting your business logo ready
There are a few ways you can go about this.
Option 1: Create a new logo from scratch. If you do not have an account, you can use our free logo maker. If you already have an account, log into your dashboard, and click on the dropdown at your business name and click on ‘Create a Logo’. This will take you to the first step of the logo designing process.
Option 2: If you’d like to redesign your logo, log into your dashboard, and click on ‘Edit your Logo’. This will take you to the logo editor where you can change every aspect of your logo including the original template.

Option 3: If you already have a logo that you like, then you’re all good. You can skip this section and move on to section 2.
Another way to create a new logo is to use our business name generator and start by entering your business name.

All the steps after adding a business name are optional and can be skipped. However, adding those details will help the logo editor customize the logo templates for you. Once you’ve added your business name, follow these steps to design your logo.
Step 1: The next step will prompt you to add a slogan for your business. While this is optional, a good slogan can help build your brand’s personality and build a connection with your customers.

Here’s a good resource to come up with a good slogan.
Step 2: Select your industry from the dropdown.

Step 3: If there are any specific colors you’d like to include, select them here.

Step 4: The next step is to choose the font style. You can select all or skip this step.

Step 5: The next step will prompt you to add keywords. The words you enter here will help the logo editor find appropriate icons for your logo.

Once you've entered all the details, the Logo Design Engine will generate a list of templates based on the criteria you've entered. Choose a logo template you like and click on ‘customize’ to edit your template.
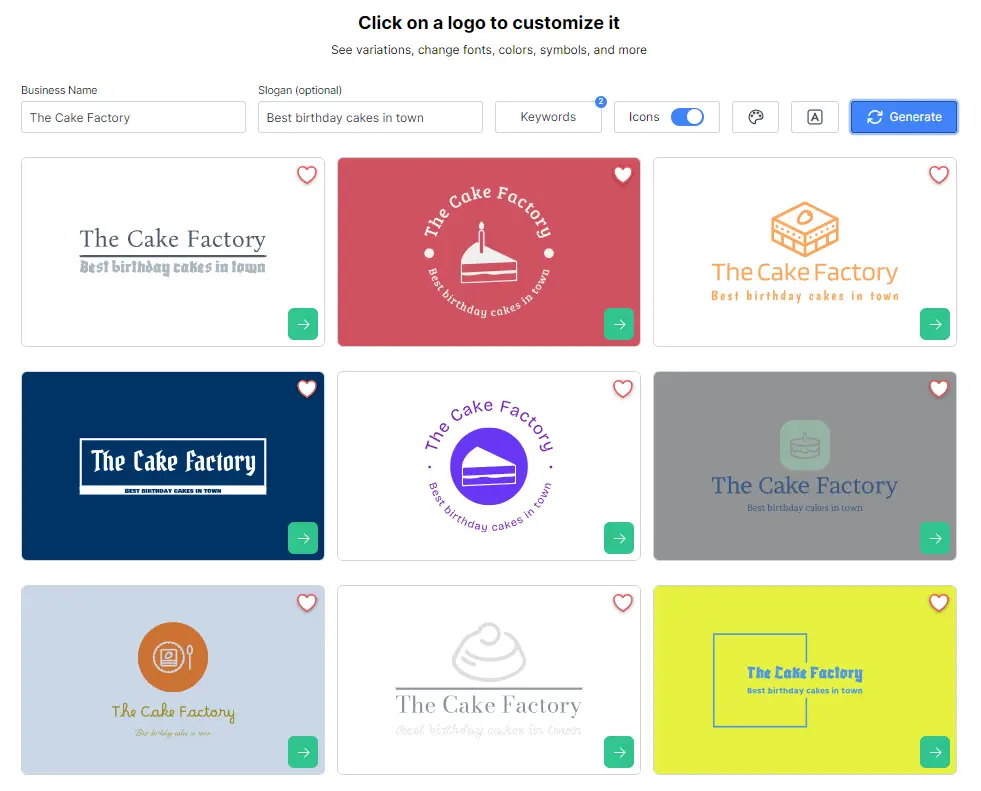

To finalize your logo, you can either go through the different options on the left side of the menu by selecting them or clicking 'Next'. You can also select 'Get Logo' in the top right.
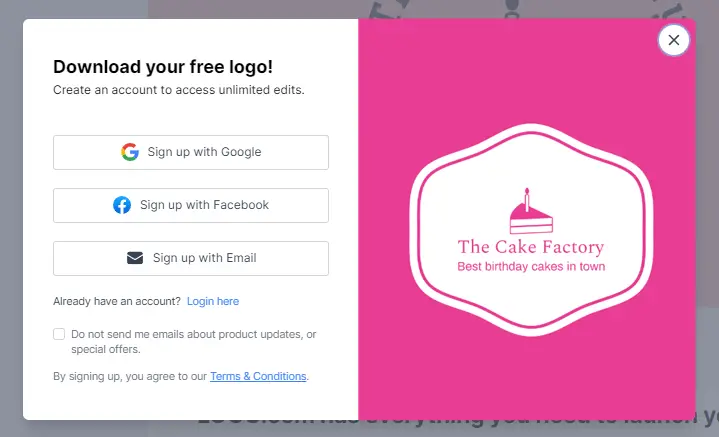
If you have not created an account yet, it will then prompt you to sign up. By creating a free account, you will be able to access all your logo files and brand kit.
Section 2. Download your logo files
Once you have added all your information, the platform will take you to your dashboard where you can download your logo files.

Here, you’ll find links to download your logo files and details of all the visual elements of your brand.

To learn more about the different logo files and how they can be used, refer to this resource here.
Section 3: Get your brand guidelines
Brand guidelines is a document that provides information on how to use your brand assets to build consistency and brand recognition across platforms. It includes details of your color palette and fonts. It also includes the correct and incorrect way to use your logo when mentioning your brand online or offline.
You can access your brand guidelines from your dashboard’s left-hand menu under ‘Your Brand’.
Congratulations! You’re one step closer to bringing your business to life. In the next article, we will go through how to set up a website to reach your customers.
Recent posts
Oct 19, 2026 by: Sean Baker

Oct 14, 2026 by: Vanessa Lam
Oct 12, 2026 by: Sean Baker
Oct 5, 2026 by: Sean Baker